changer bracelet panerai radiomir | Panerai strap change
$223.00
In stock
The Panerai Radiomir, with its iconic cushion-shaped case and minimalist dial, exudes a timeless elegance that appeals to watch enthusiasts worldwide. Its versatility, however, extends beyond its design. A significant part of the Radiomir's charm lies in the ease with which you can change its strap, allowing you to personalize your timepiece and adapt it to different occasions and styles. This article provides a comprehensive guide on how to quickly and easily change your Panerai Radiomir strap, covering everything from the tools you'll need to specific techniques and best practices. Whether you're a seasoned collector or a new Panerai owner, this guide will empower you to confidently manage your Radiomir's strap changes.
Understanding the Panerai Radiomir Strap System
Before diving into the strap changing process, it's crucial to understand the Radiomir's strap attachment system. Unlike some watches that use spring bars, the Radiomir typically utilizes a wire loop system, also sometimes referred to as a wire lug system. This system consists of:
* Wire Lugs: These are thin, curved wires that are permanently fixed to the watch case. They loop through the strap and secure it in place.changer bracelet panerai radiomir
* Screws: Small screws located on the exterior of the lugs hold the wire loop in place. These screws are key to removing and installing the strap.
* Strap Tubes: Some Radiomir straps have internal tubes that slide over the wire loops, providing added stability and preventing wear on the strap material.
This unique system, while visually appealing and historically significant, requires specific tools and techniques for successful strap changes. Attempting to force the screws or using incorrect tools can lead to damage to the lugs, screws, or even the watch case.
Tools You'll Need for Radiomir Strap Replacement
Having the right tools is paramount for a smooth and damage-free strap change. Here's a list of essential tools:
1. Screwdriver (Precision Screwdriver): This is the most crucial tool. You'll need a high-quality, precision screwdriver with a blade size that perfectly matches the screws on your Radiomir's lugs. Using a screwdriver that is too large or too small can easily strip the screw heads, making them difficult or impossible to remove. A size of 1.6mm or 1.8mm is generally recommended, but it's best to check the specifications for your specific Radiomir model. It is HIGHLY recommended to invest in a *bergeon screwdriver* as these are known for their precision and quality. Cheap screwdrivers are a false economy here.
2. Spring Bar Tool (Optional but Recommended): While the Radiomir doesn't use spring bars for strap attachment, a spring bar tool can be helpful for manipulating the strap and removing it from the wire loops, especially if the strap is tight or has internal tubes. A forked tip is most useful for this purpose.
3. Magnifying Glass or Loupe (Optional but Recommended): These tools allow you to closely inspect the screws and lugs, ensuring that you're using the correct screwdriver size and that the screws are properly aligned before tightening. They also help you spot any signs of wear or damage.
4. Work Mat or Soft Cloth: Protect your watch and work surface from scratches by using a soft, non-abrasive work mat or cloth. This will also prevent the screws from rolling away and getting lost.
5. Tweezers (Optional): Tweezers can be helpful for handling the small screws, especially when you're removing or installing them in hard-to-reach areas.
6. Thread Locker (Low Strength) - Loctite 222 (Optional but Recommended): A small amount of low-strength thread locker (such as Loctite 222 – the purple one) can be applied to the screw threads to prevent them from loosening over time. This is particularly useful if you frequently change your straps. *Important: Only use a tiny amount and ensure it's the low-strength type to avoid permanently locking the screws in place.*
7. Polishing Cloth (Optional): Once the strap is changed, a polishing cloth can be used to gently clean the watch case and lugs, removing any fingerprints or smudges.
Step-by-Step Guide to Changing Your Radiomir Strap
Now that you have the necessary tools, let's walk through the strap changing process step-by-step:
Step 1: Prepare Your Work Area
* Lay down your work mat or soft cloth on a clean, well-lit surface.
* Gather all the necessary tools and have them within easy reach.
* Position your Radiomir watch face down on the work mat.
Step 2: Loosen the Screws
* Carefully insert the tip of your precision screwdriver into one of the screws on the lug. Ensure the screwdriver blade fits snugly into the screw head. *It is crucial that the screwdriver fits perfectly. Any wobble or play can lead to stripping the screw.*
* Apply gentle but firm pressure and slowly turn the screwdriver counterclockwise to loosen the screw. Avoid forcing it. If the screw is tight, try applying a small amount of penetrating oil (like WD-40) to the threads and let it sit for a few minutes before trying again.
* Repeat the process for the screw on the opposite lug.
Additional information
| Dimensions | 7.7 × 2.4 × 2.9 in |
|---|
Related products
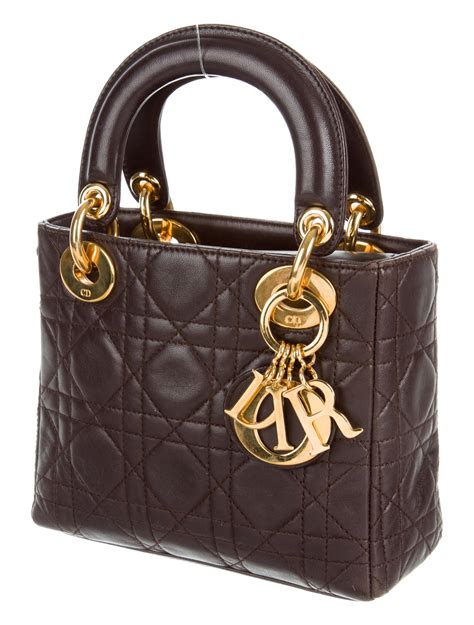
-
yves saint laurent getrouwd
$310.00 Select options This product has multiple variants. The options may be chosen on the product page -
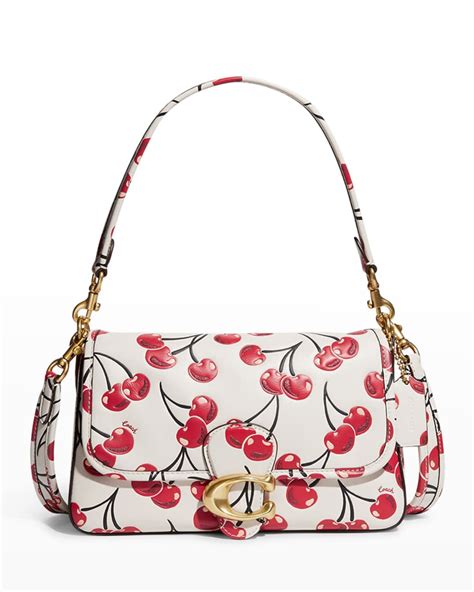
yves saint laurent gift sets
$345.00 Select options This product has multiple variants. The options may be chosen on the product page -
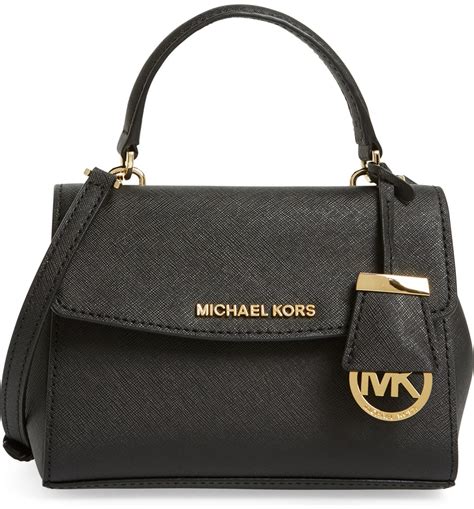
yves saint laurent gift box met necessariis changer bracelet panerai radiomir
$405.00 Select options This product has multiple variants. The options may be chosen on the product page